Set Up an iOS Simulator on a Mac
by Bandicoot Marketing on | Posted in Tutorials | 10 comments
Lately, I’ve been developing a lot of responsive designs specifically for the iPad and iPhone. Since I do all my developing on a Mac, I thought there’d be some type of iOS simulator hidden away on my machine to make it easier on me. Sadly, there wasn’t. But getting one set up was easy enough.

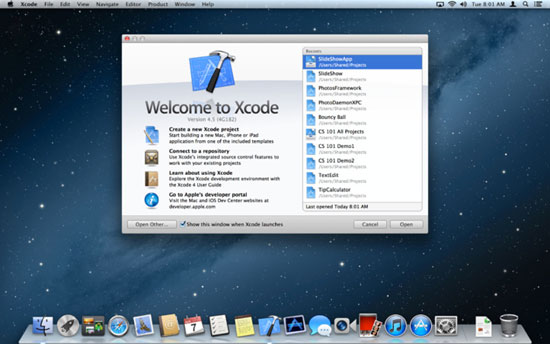
First thing you need to do is download xCode from the App Store. Type “xCode” into the search box to track it down then click install. It’ll take a little while so feel free to take a breather.
Once xCode has been downloaded and installed on your machine, open up your Applications folder and scroll down to it. Right click and select “Show Package Contents”. Next, follow the folder path below to get to the simulator:
Content => Developer => Platforms => iPhoneSimulator.platform => Developer => Applications => iOS Simulator

Drag the iOS Simulator icon onto your dashboard so you’ll have easy access to it. It’ll allow you to test your work on the iPhone 4 and 5, as well as a regular or retina display iPad.
For more information check out the using iOS Simulator help page.

10 comments for “Set Up an iOS Simulator on a Mac”